Sunday, November 11, 2012

No-Sew Doll Skirt

Posted by Unknown at 1:14 PM 0 comments
Things you'll need:
-fabric (I used some old shorts)
-scissors
-fabric glue (optional)
-velcro (optional)
-some kind of string (optional)

*I will be showing you how to make this with velcro. If you don't want to use velcro you can use string to hold the skirt in place.*

Take your fabric and cut from the edge to however long you want the skirt to be.
Then cut along the width so that it wraps around the dolls body PLUS about an extra 1/2 inch.
Take your rectangle and along the length, cut out a smaller rectangle about 3/8in long by 1/2 wide.
(Hopefully the picture explains a little better. -- If you're using old clothes you can use the hem for the top edge and just cut out a 1/2 inch piece from that like I did)


Attach your velcro.Stick a piece on the front side where the extra fabric is and one on the wrong side where the flat edge is.

Once it dries lay the piece face down and place your doll face down on top.
Take the side with the extra half inch and wrap it around the doll.
Then take the other side and wrap it over top to fasten the velcro.

Ladies and gentlemen, we have a skirt!

If you dont want to use velcro, you can tie string or a hair tie around the waist to hold it in place.


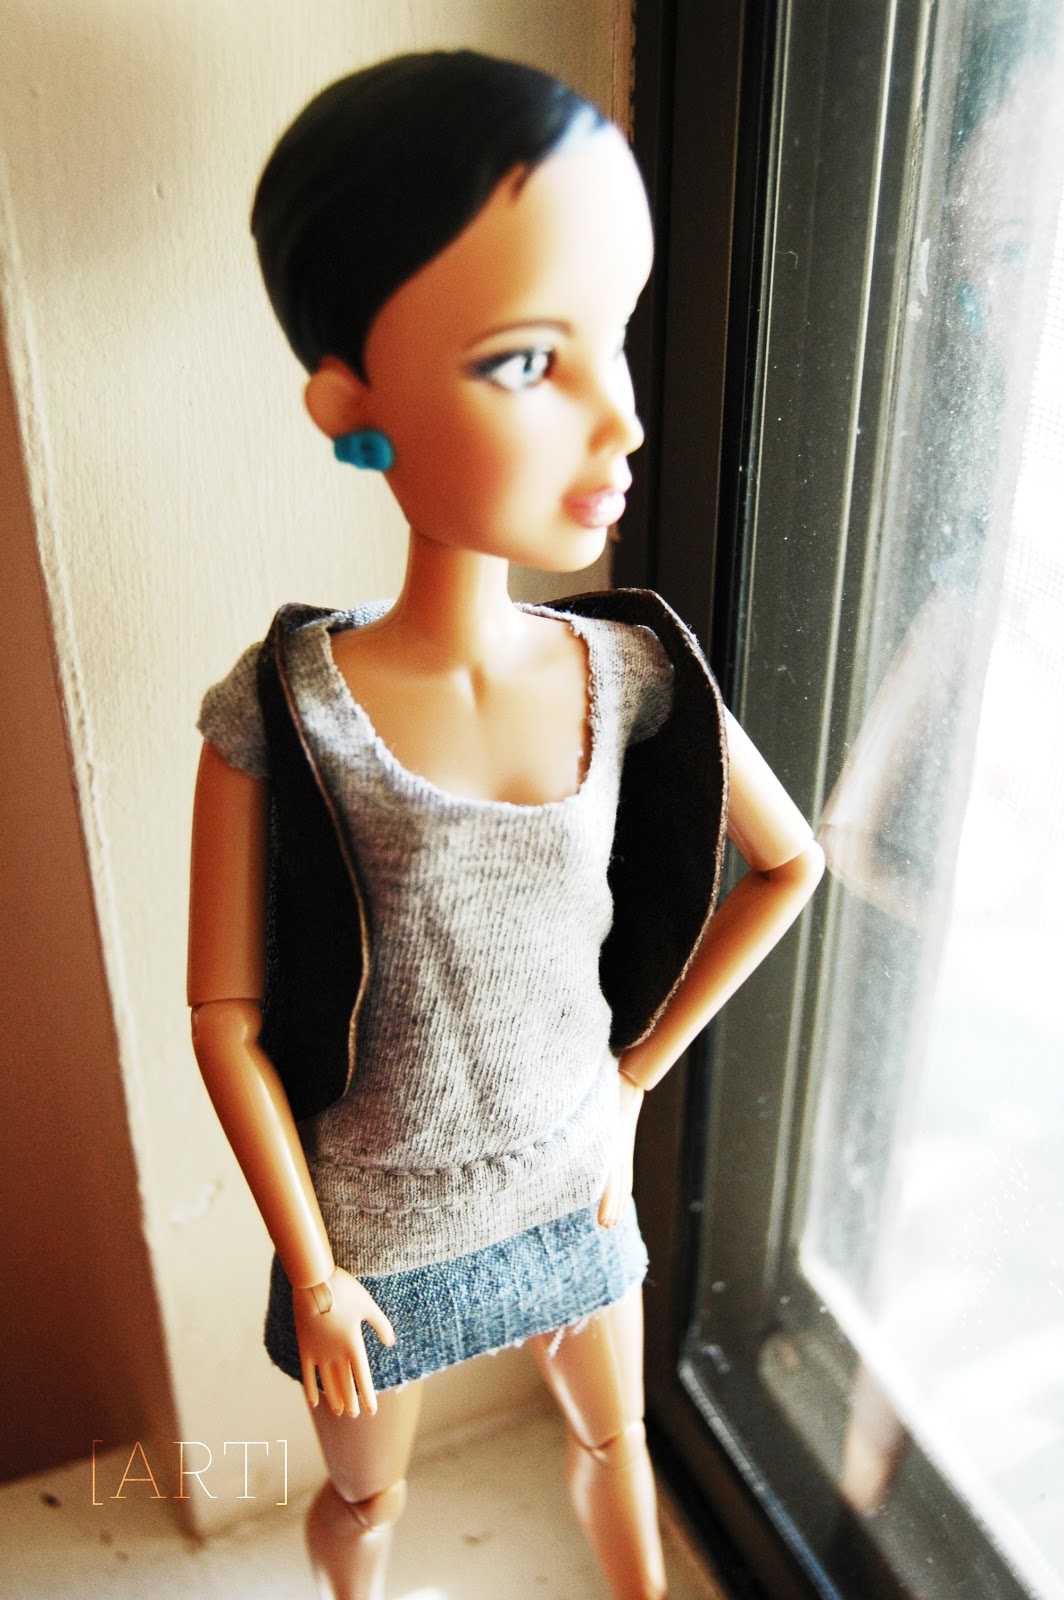
Paired with my no-sew shirt and a vest I made with some scrap leather:


No-Sew Doll T-shirt

Posted by Unknown at 12:29 PM 0 comments
What you'll need:
-an old shirt (really any type of fabric)
-scissors
-fabric glue (optional)
-sew on velcro or stick on velcro which is easier but not as cheap. (optional)
-string/yarn, or hair tie (optional)

*I will be showing you how to do this using velcro. If you do not want to use velcro then use string to hold the shirt in place*
First thing's first; cut out a square that's long enough to cover the the length of the torso (unless you want a crop top) and wide enough to wrap around the dolls body.

 Then, fold the fabric in half width wise and place your doll on top. Using the scissors, make a slight cut in the fabric on each side of the doll where the arms will go (arm holes). If you want a tank top style, make the cuts more on top of the shoulder than by the arm like I've done.

Next, cut a half circle between the two arm hole cuts you made. The wider the distance between the half circle and the arm holes, the wider your sleeve is going to be. But don't make the circle too big or you'll have some nip slips.


Now you'll want to cut along the folded edge up to the arm hole. Do this for each side.
Unfold the fabric and pick which half is going to be your backside and then, starting at the bottom of the armhole, cut down at a slight inward angle. (The right side on mine is just folded under. Both sides of yours should look like the left side of mine.)


Then you'll take your velcro and cut it into skinny, long strips and use your fabric glue to glue it to your shirt.
You'll take the widest part and glue a strip onto the back and another onto the front along the edges. (or just stick them on there if you have the sticky kind) Wait for the glue to dry.

Now for the fun part!
Pull the shirt over the doll's head (through the hole obvs) with the skinny piece in the back. Then, wrap the long sides around to the back and fasten the velcro!! Super simple!

Et voila! A shirt!!!

If you don't want to buy velcro you can always use a makeshift belt (ie string/yarn, or a hairband) to hold the pieces in place.

A DC shirt I made with this method:


proCRAFTStination Copyright © 2012 Design by Antonia Sundrani Vinte e poucos